Clerk guide · About an hour · Free to start
Add sign-in to a Next.js app with Clerk
Sign-in screens, protected pages, an authenticated API and a user table kept in sync by webhook, on a plan that is free to start.
Last verified against the official Clerk documentation on October 10, 2026. Prices and free tiers change, so open the linked pages before you rely on a number.
The customer app we are building uses Clerk for sign-in, organizations and invitations. It is a Next.js client talking to a separate Express API, so this guide covers both halves: the screens a user sees, and the API that has to know who is calling. The app is not live yet. What follows is how the code is wired and what Clerk's documentation says today.
What it costs
At the time of writing, Clerk's pricing page lists a free Hobby plan with no credit card required and a limit of 50,000 monthly retained users per app. Clerk defines a monthly retained user as one who visits your app in a given month at least one day after signing up, so someone who signs up and never returns does not count. The Pro plan is listed at $25 a month, or $20 a month billed annually, with additional retained users at $0.02 each.
The same page lists an Enhanced B2B Authentication add-on at $100 a month. If your product depends on organizations, read that section before you design around them.
Two instances, and why it matters early
Every Clerk application has a development instance and, when you create it, a production instance. Clerk's page on managing environments states three things worth knowing on day one: development instances are capped at 100 users, some social sign-in options run on shared credentials there, and user data cannot be transferred between instances. Build and test on development. Do not invite real customers until the production instance exists, because their accounts will not move.
Step 1: create the application and install the SDK
Clerk's Next.js quickstart now starts from its CLI. In the root of the app, run npx -y clerk@latest init. It detects the framework and package manager, applies the Next.js setup and writes two development keys to .env.local:
NEXT_PUBLIC_CLERK_PUBLISHABLE_KEY, which is public by design and ships to the browser.CLERK_SECRET_KEY, which stays on the server and never goes in client code or in git.
If you run it signed out, the quickstart says it provisions an application you can claim later by signing in. When the setup looks wrong, npx -y clerk@latest doctor checks it.
Step 2: add the middleware
Clerk needs a middleware file that calls clerkMiddleware(), imported from @clerk/nextjs/server. The middleware reference gives the naming rule: the file is proxy.ts on Next.js 16 and later, and middleware.ts on Next.js 15 and earlier, with the same contents. Our app is on Next.js 15, so ours is middleware.ts.
We changed one thing in the default matcher: it skips /api/health. The middleware throws on every request it handles when the secret key is missing or rotated, and a health check that passes through it turns a key problem into a failed deploy.
Step 3: wrap the app and add the sign-in controls
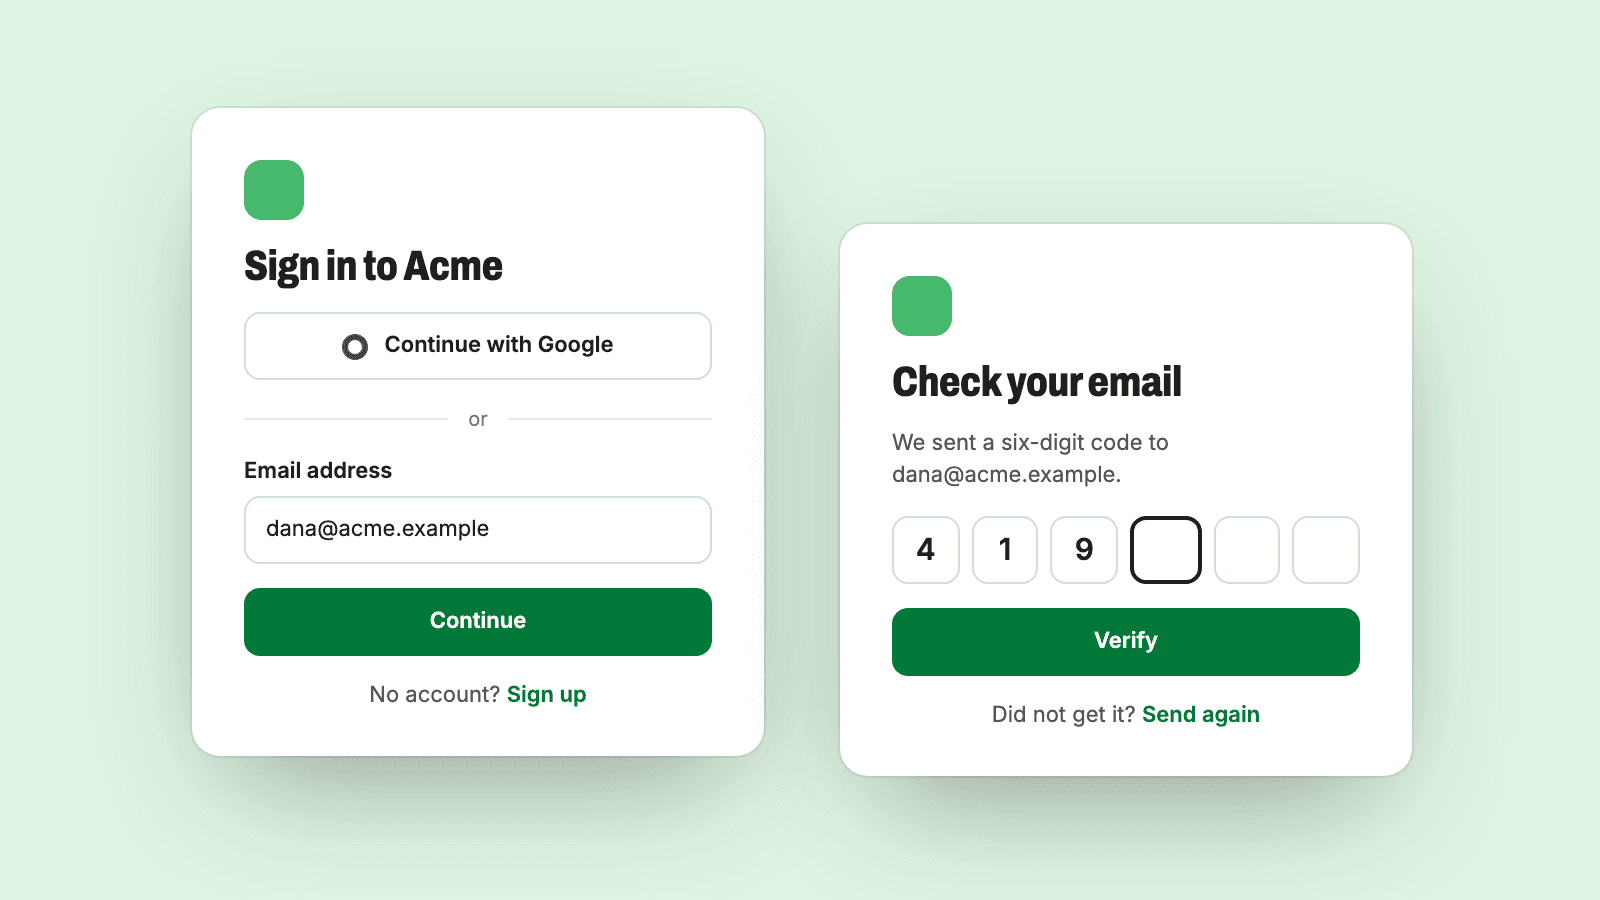
In the root layout, put <ClerkProvider> inside <body>. The quickstart's example header uses four components: SignInButton and SignUpButton inside <Show when="signed-out">, and UserButton inside <Show when="signed-in">. That is a working sign-in flow, with Clerk hosting the forms.
We render our own sign-in and sign-up screens at /sign-in and /sign-up, and tell Clerk where they are with NEXT_PUBLIC_CLERK_SIGN_IN_URL and NEXT_PUBLIC_CLERK_SIGN_UP_URL. Start with Clerk's components and move to your own screens only when the design calls for it. One build detail from that work: pages that render Clerk hooks export dynamic = 'force-dynamic', which lets the app build in CI with no Clerk keys present.
Step 4: protect pages and routes
The middleware from the quickstart contains no route checks, so you decide what requires a signed-in user. In a server component, route handler or server action, call auth() and read isAuthenticated and userId, or call auth.protect(), which sends a signed-out visitor to the sign-in page.
Put the check next to the data. Clerk's middleware reference says middleware is not the best place to protect routes and that access should be protected as close to the resource as possible. It also marks createRouteMatcher() as deprecated. Our own app was written with a public-route matcher in middleware and still has it, so we know the pattern works, but for new code follow the current guidance and check inside each page and handler.
Step 5: authenticate your API
If the app has its own backend, the backend must verify the session itself. For Express, Clerk's Express quickstart installs @clerk/express, sets CLERK_PUBLISHABLE_KEY and CLERK_SECRET_KEY, and adds app.use(clerkMiddleware()). In each handler, getAuth(req) returns the verified user, and the handler answers 401 when isAuthenticated is false. Our client sends the Clerk session token as a bearer token on every API call.
Clerk's reference for requireAuth() says not to use it for API routes, because it redirects a signed-out caller instead of returning a status code.
The rules our API keeps, which matter more than the library calls:
- Identity comes from the verified token. A user id, organization id or role in a request body is never trusted.
- Route order is public routes, then the auth guard, then everything else. A route mounted before the guard is public, so webhooks and the health check are the only things above it.
- An organization id in the URL selects the organization and grants nothing. Every request checks that the caller is a member, and a caller who is not gets a 404.
- Every database query filters by the organization from the verified session. Another organization's row answers 404.
Step 6: keep your database in sync with a webhook
Sooner or later you need users in your own tables, for foreign keys and for queries Clerk cannot answer. Clerk's guide to syncing data with webhooks gives the steps:
- On the Webhooks page of the Clerk Dashboard, select Add Endpoint and enter the public URL of your handler.
- Subscribe to the events you need. For users those are
user.created,user.updatedanduser.deleted. - Copy the endpoint's Signing Secret into an environment variable. Clerk's examples name it
CLERK_WEBHOOK_SIGNING_SECRET. - Make sure the webhook route is not behind your auth checks. It is authenticated by its signature.
- In the handler, verify the request before reading it. In Next.js that is
verifyWebhook(req)from@clerk/nextjs/webhooks.
The guide is direct about the limits: deliveries are not guaranteed, events can arrive out of order or more than once, and the sync is eventually consistent. Our handler is built around those three warnings. It verifies the signature over the raw request bytes, which in Express means mounting a raw body parser on the webhook path before the JSON parser runs. It records each event id in a table and skips one it has already processed, and an event that failed is allowed to run again on retry. And no request waits for a webhook: the first authenticated call from a new user creates their row if the webhook has not arrived yet.
We also treat Clerk as the owner of identity fields. Names, photos and organization names are written to Clerk, and the webhook copies them into our tables. Writing them in both places is how the two drift apart.
Step 7: go to production
Clerk's production deployment guide lists what changes. You need a domain you own, and your own OAuth credentials for each social sign-in provider, because the shared development ones are not for production.
- In the Clerk Dashboard, use the environment dropdown at the top to create the production instance. SSO connections, integrations and paths do not copy over from development, so set them again.
- Replace the keys in your hosting provider's variables. Production keys start with
pk_live_andsk_live_, then redeploy. - Add the DNS records shown on the dashboard's Domains page. Clerk says they can take up to 48 hours to propagate. On Cloudflare, set them to DNS only so Clerk's check passes.
- Create the webhook endpoint again on the production instance and store its new signing secret.
- When the dashboard checklist is complete, select Deploy certificates.
Hand this to your agent
Paste this into your coding agent with the repository open. It works on a development instance only. Production keys and DNS are yours to handle.
- Check the repository for existing authentication. If any exists, stop and tell me what you found before changing anything.
- Run
npx -y clerk@latest initin the Next.js app. Confirm.env.localis ignored by git. Never print or commitCLERK_SECRET_KEY. - Confirm the middleware file calls
clerkMiddleware()and is named for this Next.js version:middleware.tson 15 and earlier,proxy.tson 16 and later. Exclude the health check route from its matcher. - Put
ClerkProviderinsidebodyin the root layout and add sign-in, sign-up and user buttons to the header. - List every page, route handler and server action that reads or writes user data. Add an
auth()check inside each one. Do not rely on middleware alone, and do not usecreateRouteMatcher(). - If there is a separate API, add
@clerk/expresswithclerkMiddleware(), read the caller withgetAuth(req)and return 401 when not authenticated. Do not userequireAuth()on API routes. Never read a user id or organization id from the request body. - Add a webhook route outside the auth checks that verifies the signature before reading the body, handles
user.created,user.updatedanduser.deleted, and is safe to run twice for the same event. Tell me the URL and events so I can create the endpoint in the Clerk Dashboard and set the signing secret. - Run
npx -y clerk@latest doctor, then start the app and walk through sign-up, sign-out and sign-in. Report what you tested and what you could not test.
Next
Once people can sign in, the next step is usually to charge them: see taking payments with Stripe. If the app is not hosted yet, start with deploying to Railway.
Sources
- Pricing, Clerk
- Managing environments, Clerk Docs
- Next.js quickstart, Clerk Docs
- clerkMiddleware() reference, Clerk Docs
- auth() reference, Clerk Docs
- Express quickstart, Clerk Docs
- requireAuth() reference, Clerk Docs
- Sync Clerk data with webhooks, Clerk Docs
- Deploy to production, Clerk Docs
Want this already wired together?
We are packaging this stack into production kits. They are not available yet. If you would rather have us build it with you now, book a call.