
Stripe guide · About two hours · No monthly fee
Take payments with Stripe Checkout and webhooks
A hosted checkout page, a signed webhook and one rule that keeps billing honest: only the webhook writes who has paid.
Last verified against the official Stripe documentation on October 10, 2026. Prices and free tiers change, so open the linked pages before you rely on a number.
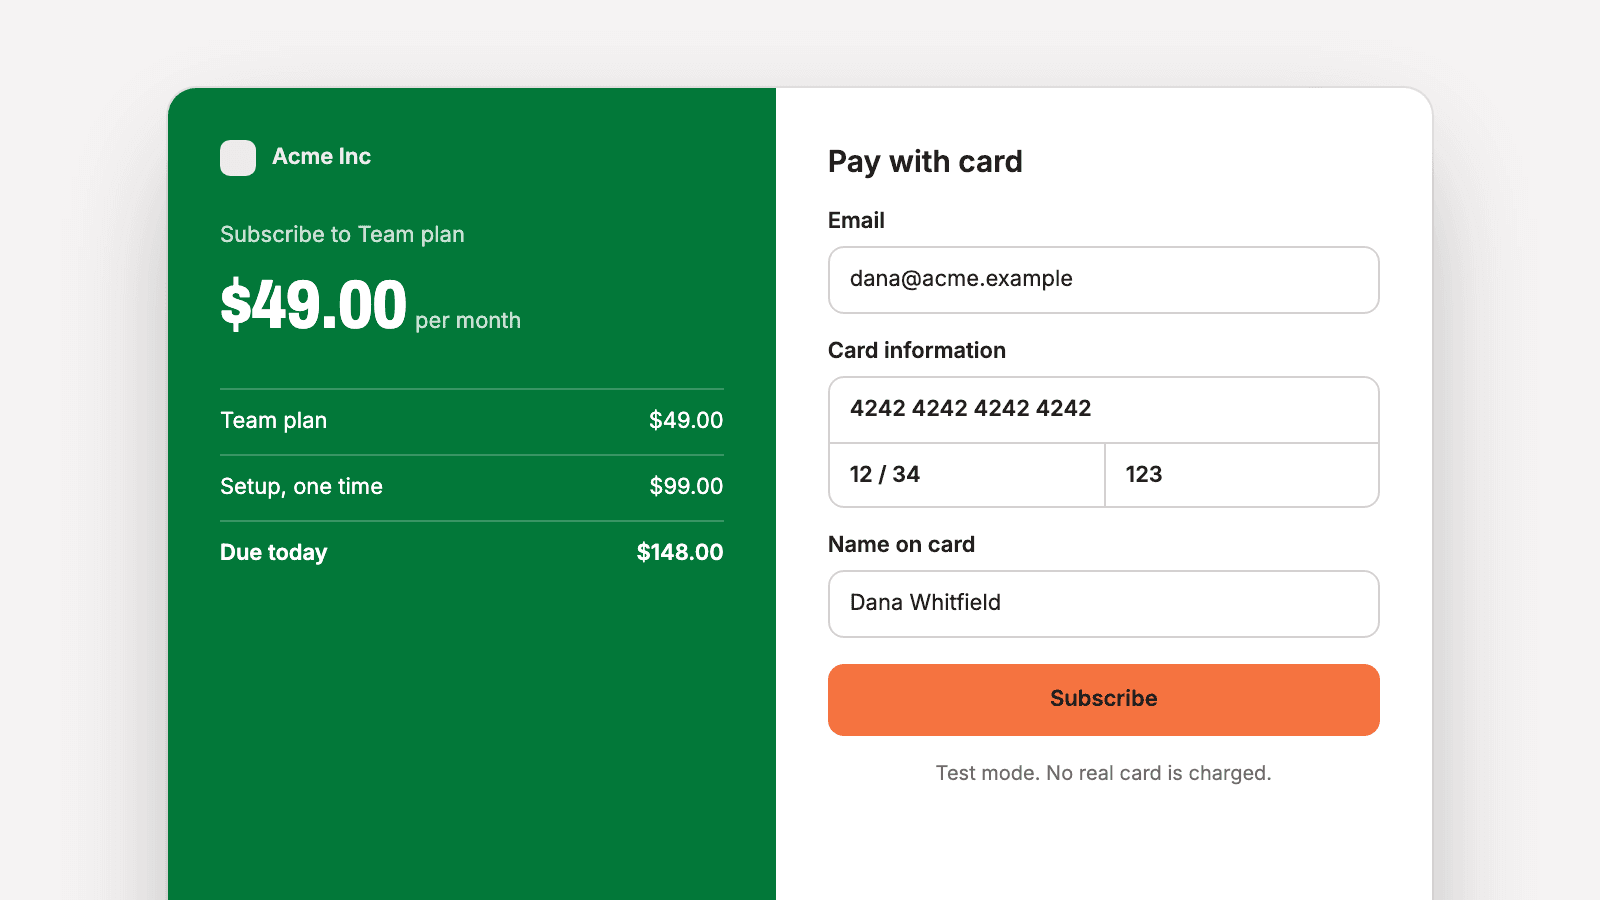
We take payments two ways in this codebase. The marketing site sells a one-time setup fee and a monthly plan through a single Stripe-hosted checkout page. The customer app we are building reads each organization's subscription from Stripe. Both follow one rule, and it is the reason this guide exists: the browser never tells us that someone paid. Stripe tells our server, through a signed webhook.
What it costs
At the time of writing, Stripe's US pricing page lists 2.9% + 30¢ per successful transaction for domestic cards, with no setup fees and no monthly fees. It adds 1.5% for international cards and 1% when currency conversion is required. Subscriptions run on Stripe Billing, and the Billing pricing page lists a further 0.7% of Billing volume on the pay-as-you-go plan. Pricing differs by country, so read the page for yours.
Nothing is charged while you build. Development happens in a sandbox, where no card network is involved.
Step 1: get your keys and keep them apart
Stripe's API keys page describes two modes. A sandbox is an isolated test environment, and its keys start with pk_test_, sk_test_ and rk_test_. Live mode keys start with pk_live_, sk_live_ and rk_live_. Objects in one mode do not exist in the other.
- Only the publishable key (
pk_) is safe in browser code. - Stripe recommends a restricted key (
rk_) with only the permissions your server needs, over a secret key that can do everything. - Keys belong in your host's environment variables, never in source code.
Our servers read STRIPE_SECRET_KEY and STRIPE_WEBHOOK_SECRET. When they are missing, the app still boots: checkout sends the visitor to the contact page and the webhook answers 503. A missing key switches one feature off and leaves the rest of the site running.
Step 2: decide where prices live
You can create products and prices in the Dashboard's Product catalog and refer to them by id, or pass the amount inline as price_data when you start a checkout. Stripe's page on managing products and prices covers both.
Our marketing checkout uses inline prices, so every amount sits in one file in the repository and there is nothing in a dashboard to keep in step with the code. The cost, per that page, is that inline prices cannot be updated or reused. For the customer app's plans we use a price with a lookup key instead. The code asks for the price by a stable name, and a price change means creating a new price and moving the key to it with transfer_lookup_key. No deploy is needed.
Step 3: create the Checkout Session on your server
A payment starts when your server calls the Create a Checkout Session endpoint and redirects the buyer to the url on the session it returns. The parameters that matter:
mode:paymentfor a one-time charge,subscriptionwhen at least one item recurs.line_items: what is being bought. In subscription mode you can include one-time prices too, and Stripe puts them on the first invoice only. That is how we charge a setup fee and the first month together.success_url: where Stripe sends the buyer afterwards. Include the{CHECKOUT_SESSION_ID}placeholder and Stripe replaces it with the session id.cancel_url: where the back button on the checkout page leads.client_reference_idandmetadata: your own identifiers, so the webhook can tell which customer or order the payment belongs to.
Two rules from our handler. Amounts come from server code, never from the request, so nobody can post a lower price. And the buyer is checked against our own records before any session is created.
Step 4: receive the webhook
Stripe's fulfillment guide states the reason plainly: you cannot rely on your landing page to trigger fulfillment, because customers are not guaranteed to reach it. Someone can pay and lose their connection before the page loads. A webhook goes from Stripe to your server and does not depend on the browser at all.
Register the endpoint in the Dashboard, following the webhooks documentation:
- Open the Webhooks tab in Workbench and click Create an event destination.
- Choose the payload format. The handler described here reads the full object from the event, which is the Snapshot format. Stripe recommends Thin for new integrations and documents a different handler for it.
- Select only the events you handle. For a one-time purchase that is
checkout.session.completed, pluscheckout.session.async_payment_succeededif you accept bank debits or other delayed methods. For subscriptions addcustomer.subscription.created,customer.subscription.updatedandcustomer.subscription.deleted. - Enter the endpoint URL, then reveal the signing secret, which starts with
whsec_, and store it as an environment variable.
The handler does four things in order:
- Verify the signature with Stripe's library, using the raw request body, the
Stripe-Signatureheader and the signing secret. Stripe warns that any change to the raw body makes verification fail. In a Next.js route handler we read the body as text. In Express we mount a raw body parser on the webhook path before the JSON parser. - Answer 400 if verification fails, and do nothing else.
- Act on the event types you subscribed to, and answer 200 to the ones you do not handle so Stripe stops sending them again.
- Return a 2xx status quickly. Stripe asks for the response before any slow work.
Build for repeats. The same page says Stripe retries a failed delivery for up to three days in live mode, that an endpoint can receive the same event more than once, and that events are not guaranteed to arrive in the order they happened. Our subscription handler copes by being idempotent: it sets the organization's status to what the event says, so running it twice changes nothing.
Step 5: let only the webhook write payment state
This is the rule we hold hardest. In our customer app, an organization's plan and subscription status are written in exactly one place, the Stripe webhook handler. No page and no API route sets them.
The tempting shortcut is to mark the account as paid when the buyer lands on the success page. It fails in both directions. Some people who paid never reach that page. And the page cannot see what happens later: a card that fails at renewal, or a cancellation made in Stripe's billing portal. Stripe's guide to webhooks with subscriptions lists the statuses and says to revoke access when a subscription becomes canceled or unpaid. Our handler grants the paid plan when the status is active or trialing and falls back to the free plan for anything else.
The success page can still be useful without writing anything. Ours takes the session id from the URL, retrieves that session from Stripe on the server, and shows the welcome screen only if the session is complete, its payment status is not unpaid, and its client_reference_id matches the customer the page belongs to. That last check stops a valid session id for one customer from opening another customer's page.
Step 6: let customers manage billing themselves
Do not build screens for updating a card or canceling. Stripe's customer portal does it. Configure what customers may do in the Dashboard's customer portal settings. Then, when a signed-in customer clicks Manage billing, your server creates a portal session with their Stripe customer id and a return_url, and redirects them to the session's url. Stripe's page says to authenticate the customer before creating the session. In our app only an organization admin can open it.
Whatever the customer changes there reaches you through the same subscription webhook, which is why step 5 needs no extra code for it.
Step 7: test without real money
Install the Stripe CLI (the Stripe docs give npm install -g @stripe/cli), run stripe login, then forward events to your local server with stripe listen --forward-to localhost:3000/api/stripe/webhook, using your own port and path. The command prints a signing secret for local use. Put it in your local environment.
Go through checkout with a card from Stripe's testing page: 4242 4242 4242 4242 succeeds with any future expiry date and any three-digit CVC, and 4000 0000 0000 0002 is declined. Watch the terminal for checkout.session.completed and confirm your database changed. Then cancel the subscription from the Dashboard and confirm the plan drops. The testing page is explicit that real card details must not be used for testing.
Step 8: go live
- Read Stripe's go-live checklist.
- Recreate your prices in live mode. The Dashboard's product page has a Copy to live mode button.
- Register the webhook endpoint again in live mode. It gets its own signing secret.
- Configure the customer portal in live mode. Stripe keeps a separate portal configuration for each mode.
- Swap the sandbox keys for live keys in your host's variables and redeploy.
- Open the endpoint's Event deliveries tab in Workbench and confirm the first live events show as delivered.
Hand this to your agent
Paste this into your coding agent with the repository open. It uses sandbox keys only. Set the key values yourself, and do the live-mode steps yourself.
- Read the repository and tell me where a user or account record is stored and which field should hold the Stripe customer id, the plan and the subscription status. Wait for my confirmation before adding columns.
- Read
STRIPE_SECRET_KEYandSTRIPE_WEBHOOK_SECRETfrom the environment in one place at startup. If either is missing, payment routes return 503 and the rest of the app still runs. Never print or commit a key, and refuse to start with a live key outside production. - Add a server route that creates a Checkout Session. Take amounts and price ids from server code only. Set
client_reference_idandmetadatato our internal id, and put{CHECKOUT_SESSION_ID}insuccess_url. Redirect to the sessionurl. - Add a webhook route outside any auth middleware. Verify the signature against the raw body before parsing. Return 400 on a bad signature, 200 for event types we do not handle.
- Handle
checkout.session.completedand the threecustomer.subscriptionevents. Make the handler idempotent. It is the only code allowed to write the plan or subscription status. Add a test that proves no other route can change them. - On the success page, retrieve the session from Stripe on the server and check that it is complete, not unpaid, and belongs to the signed-in customer. Do not write payment state there.
- Add a Manage billing action that creates a customer portal session for the signed-in customer's own Stripe customer id.
- Write tests against a fake of the Stripe calls. Then give me the exact
stripe listencommand for this app and the event types to select when I register the endpoint in the Dashboard.
Next
Payments need accounts to attach to and a host for the webhook: see adding sign-in with Clerk and deploying to Railway.
Sources
- Pricing and fees, Stripe
- Billing pricing, Stripe
- API keys, Stripe Docs
- Manage products and prices, Stripe Docs
- Create a Checkout Session, Stripe API reference
- Fulfill orders, Stripe Docs
- Receive Stripe events in your webhook endpoint, Stripe Docs
- Using webhooks with subscriptions, Stripe Docs
- Integrate the customer portal, Stripe Docs
- Test your integration, Stripe Docs
- Go-live checklist, Stripe Docs
Want this already wired together?
We are packaging this stack into production kits. They are not available yet. If you would rather have us build it with you now, book a call.